A Velux window is one of the most useful things you can put in a UK roof. It brings daylight into a space that used to be dark, it ventilates a loft that used to bake in summer, and if the room below is a habitable bedroom it can double as a fire escape. It is also one of the most commonly specified wrong. Wrong size for the room. Wrong model for the pitch. Wrong position for privacy. Wrong flashing for the roof covering. We fit dozens of Velux windows every year across Milton Keynes, Newport Pagnell and the surrounding villages, and the small decisions made before the order goes in are what separate a roof window that quietly does its job for twenty years from one that leaks, overheats or fails Building Control on sign-off.
This guide walks through what actually matters when you are planning a Velux install for a UK loft conversion. The four window types, the 10 percent rule for daylight, roof pitch compatibility, the standard size codes, where in the room to put it, when you legally need an escape window, and what changes between a retrofit into an existing roof and a fresh install as part of a full conversion.
The four Velux types and when each is the right call
Velux offer a lot of variants, but for a UK residential loft conversion almost every install falls into one of four families. Knowing which family fits your situation before you look at sizes saves a lot of second-guessing later.
Fixed roof windows. No opening mechanism, just a sealed pane of glass. Cheaper, lower failure risk, no ventilation. Right for stairwells, storage lofts, secondary daylight, or high positions where an operable window is impractical. Not suitable if the window needs to serve a habitable room for ventilation or fire escape.
Centre-pivot. The standard, most-fitted Velux. The window rotates around a central horizontal axis, which means the top half tips inward and the bottom half swings outward. Easy to clean, easy to fit blinds to, works on almost any pitch, and cheaper than the top-hung equivalent. Right for the majority of habitable loft rooms where escape is either provided by a different window or not required.
Top-hung. The window hinges at the top, so the entire pane swings outward like a small awning. Uninterrupted view when open, no bar across the middle when you lean on the sill. Crucially, top-hung Velux windows in the correct size are what Building Control accept as a means of escape from a habitable loft. Right for main bedrooms and any habitable room that needs to double as a fire escape.
Conservation and escape. A visually slimmer, blacker frame designed for period property and conservation areas, and often paired with escape-window opening geometry. Right for listed buildings, conservation-area planning conditions, and heritage streetscapes where a modern white Velux frame would look wrong. Slightly more expensive, but often the only spec a conservation officer will approve.
One fixed for daylight. One centre-pivot for ventilation. One top-hung for escape.
Most loft conversions we do end up as some combination of those three. Conservation frames go on top of that if the planning conditions call for it.
The 10 percent rule: how much roof window you actually need
Building Regulations Part L and Part F, together with the guidance most Building Control officers apply to habitable rooms, ask for a glazed area equal to at least 10 percent of the floor area of the room. That single number is the fastest way to sanity-check whether your Velux plan will feel bright enough, and whether it will pass inspection.
The maths is not complicated. A 20 square metre loft bedroom needs at least 2 square metres of glazing. A single Velux PK08 is roughly 0.94 by 1.4 metres, so about 1.3 square metres of glass. Two MK06 units are around 0.78 by 1.18 metres each, or about 1.85 square metres between them. Neither combination on its own is generous, and in practice we usually aim for closer to 15 to 20 percent of the floor area on north-facing pitches, because the light quality is softer and the room can feel gloomy at the lower ratio.
Orientation matters. A south-facing pitch delivers strong direct sun for most of the day, so 10 percent glazing often feels bright and can even feel too warm in summer without an external blind. A north-facing pitch delivers gentle indirect light, so we tend to push the glazing ratio higher and rely on the softer light to avoid glare on screens and beds. East and west pitches sit in between, with strong low-angle light early or late in the day, which is worth planning around if the room is a bedroom.
Roof pitch and Velux compatibility
Roof pitch is the single technical constraint that determines which Velux model you can order. Most UK pitched roofs sit somewhere between 25 and 50 degrees, which is comfortably inside the range that standard Velux windows are designed for. Extremes at either end require different products.
Below 15 degrees the roof is functionally flat, and a standard Velux will not stay watertight because rain cannot shed off the frame quickly enough. In that scenario Velux supply a dedicated flat-roof system with an insulated upstand kerb that raises the window off the deck and gives it a working slope. That is a different product line with different flashing and different fitting technique.
Between 15 and 20 degrees, standard windows can be used but require a specific low-pitch flashing detail. Between 20 and 55 degrees is the sweet spot, this is where every centre-pivot and top-hung Velux is designed to work, and where the standard flashing kits perform best. Between 55 and 75 degrees, most centre-pivot models still work but the opening geometry starts to feel awkward, and above 75 degrees only certain models are approved.
The table below is a quick reference we use when someone rings and gives us a pitch reading.
| Roof pitch | Recommended Velux |
|---|---|
| 0 to 14 degrees | Flat-roof system with upstand kerb |
| 15 to 19 degrees | Standard window with low-pitch flashing |
| 20 to 55 degrees | Any standard centre-pivot or top-hung |
| 55 to 75 degrees | Selected centre-pivot models |
| 75 to 90 degrees | Vertical facade window rather than roof window |
Standard Velux sizes decoded
Velux size codes look like a random string of letters and numbers, but there is a logic. The two letters denote the width. The two digits denote the height. Once you learn the four or five codes that come up most often in UK homes, ordering becomes straightforward.
MK is 78 cm wide. PK is 94 cm wide. SK is 114 cm wide. UK is 134 cm wide. The number after the letters gives the height in tens of centimetres, roughly speaking. So MK04 is 78 by 98 cm. MK06 is 78 by 118 cm. MK08 is 78 by 140 cm. PK08 is 94 by 140 cm. SK08 is 114 by 140 cm.
In practical UK loft use, the sizes we fit most often are MK06 for standard bedrooms, MK08 or PK08 where the customer wants more light or a lower head height, and SK06 or SK08 where the room is generous and the rafter centres allow for a wider frame. The frame width is constrained by the spacing between rafters, so a wider window may need a trimmer detail across two rafter bays, which adds time and cost to the install.
Positioning in the room
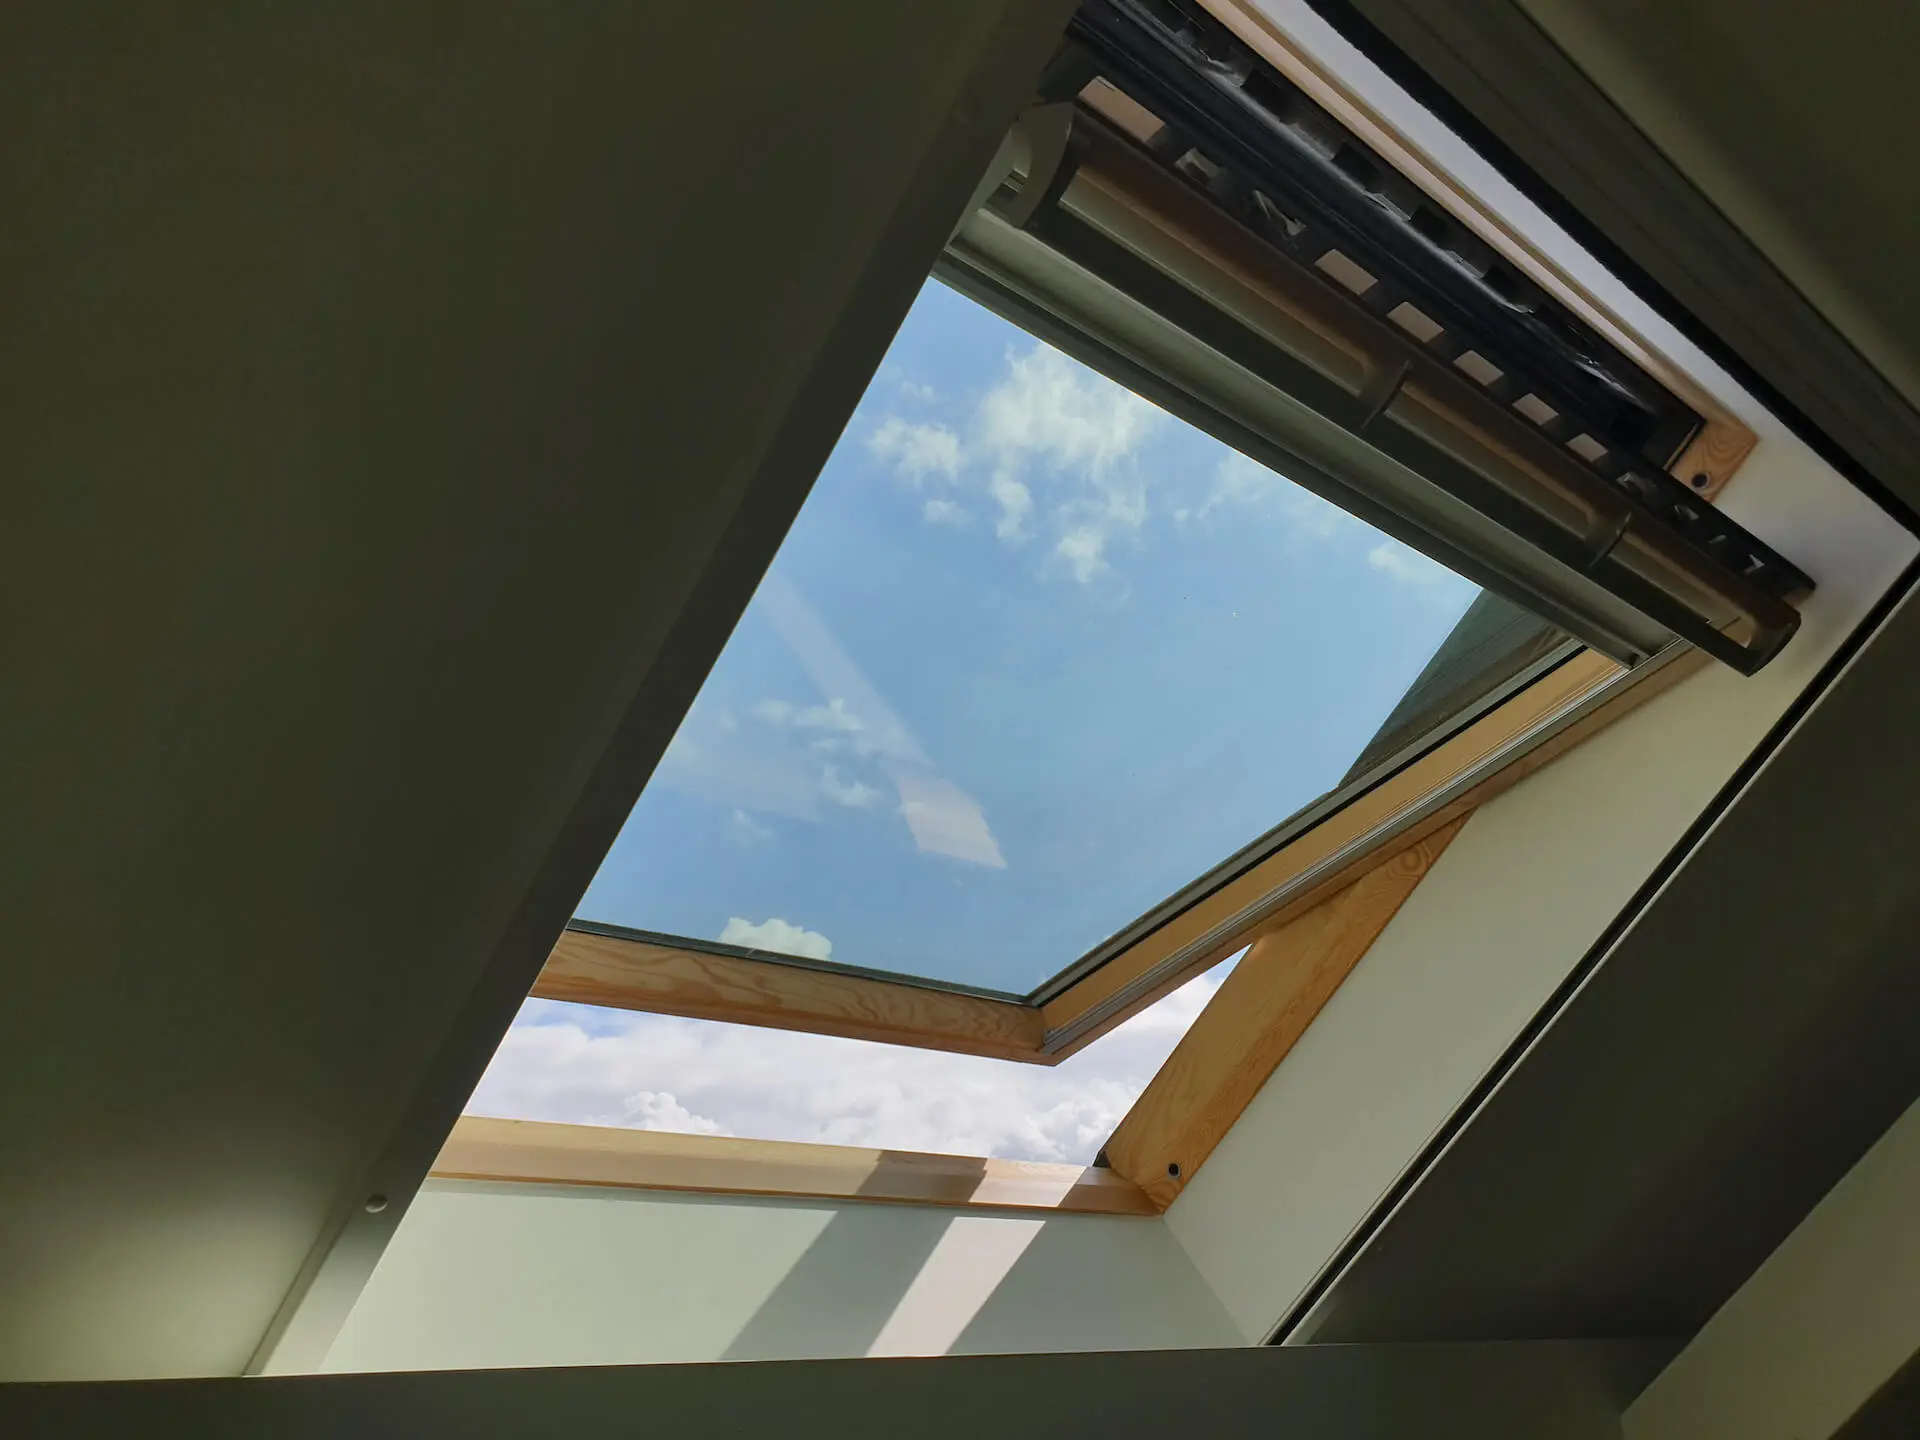
Where the window sits on the pitch is as important as which window it is. Three variables to balance: light quality, privacy, and escape reach.
Sill height is the most consequential decision. Velux publish guidance that the sill should sit between 90 and 110 cm above finished floor level, which puts the window at a natural sight line for someone standing or sitting. Below 90 cm the window feels awkwardly low and you lose wall space for furniture. Above 110 cm it becomes hard to reach the handle and to see out.
Escape reach narrows that range further if the window has to serve as a fire escape. Building Regulations require the sill of an escape window to sit no more than 1.7 metres above finished floor, so an escape Velux ends up at the lower end of the sill-height range.
Privacy is the variable most often ignored at plan stage. On a rear-facing pitch overlooking a garden the question rarely comes up. On a side-facing pitch overlooking a neighbour, or a front pitch onto the street, we usually specify obscure glazing or push the sill higher so no one is looking into the room from below.
The escape window rule for habitable lofts
If the loft conversion creates a habitable room, so a bedroom, a study used as a bedroom, or any sleeping accommodation, Building Regulations require a means of escape. In a two-storey house that becomes three storeys through the conversion, that usually means a protected stair enclosure and a separate escape route via a window in the loft.
The technical requirements for a Velux escape window are specific. A clear unobstructed opening of at least 450 mm wide and 450 mm tall, with a total openable area of at least 0.33 square metres. The sill must be no higher than 1.7 metres above finished floor level, and not lower than 800 mm for safety. The window must open easily without a key, and remain open unaided so a resident escaping does not have to hold it.
In practice this means a top-hung Velux, sized MK06 as an absolute minimum, more commonly MK08 or PK08 for comfort. The window is what your Building Control officer will look at first when they sign off the conversion, so getting the model and position right at design stage avoids expensive rework at handover.
Blinds, ventilation and glazing options that actually matter
Velux offer a long list of options and it is easy to over-spec. A few upgrades genuinely earn their keep in a UK loft, and a few are optional extras that can wait.
External blinds are the single most useful upgrade for a south or west-facing Velux. An external blackout blind, fitted above the glass on the outside of the window, cuts solar gain before it enters the room. Internal blinds only shade the light after it has already heated the space. If overheating is a concern, spend the money on the external blind.
Triple glazing is worth considering on north-facing windows where heat retention matters, and on any window in a bedroom where noise from wind or rain would otherwise be intrusive. On south-facing pitches the extra cost is harder to justify.
Solar-powered opening is genuinely useful on high windows that cannot be reached with a pole. Not gimmicky, just practical. Battery lasts years on the solar trickle charge.
Ventilation flap at the top of the frame allows trickle ventilation without opening the whole window. Worth having, cheap upgrade, meets Part F requirements for background ventilation.
Retrofit versus new-build install
The install process differs between a Velux fitted into an existing roof and one designed in as part of a new-build or full loft conversion. Both are jobs we do regularly, and the small differences are worth understanding at planning stage.
A retrofit into an existing roof means cutting a hole through covering, batten, felt and rafters, forming a lined trimmer around the opening, dropping in the Velux frame, weathering the flashing kit into the surrounding tile or slate, then finishing the internal reveal with plasterboard and skim. The complication is always the rafters. A standard Velux fits neatly between rafters at typical UK centres (400 to 600 mm), so if the opening lands cleanly on those centres, the job is faster. If it lands on a rafter, we need to cut and trim, which adds structural detail and time.
A new-build or full conversion install is simpler because the rafters and trimmers are set out from the start to accommodate the window. The roof structure is designed around the opening rather than adapted for it. The weathering detail is the same, but the structural work is built in.
How long an install takes and what disruption looks like
Timelines for Velux installs are shorter than most homeowners expect. A single retrofit Velux into an existing loft, from the moment we open the roof to the moment the window is fully weathertight and the internal lining is fitted, is typically one to two days per window. Two or three windows in the same visit share the scaffold and the setup time, so a triple install is often three to four days rather than six.
The disruption from inside the house is real but contained. Dust, noise from the roof opening, and a temporary loss of the loft space for the duration. We tarp and dust-sheet the immediate work area, and no one else needs to move out. If the window is in a bedroom, the room is usable again by the evening of the same working day, once the frame is in and the opening is weathertight.
External scaffold is required for almost all Velux installs above ground floor level, both for our safety and to hold the flashing detail properly while we work. That scaffold typically stays up for the duration of the install and comes down the day after we finish. If we are fitting several windows or combining the Velux job with other roof work, the scaffold pays for itself easily.
When you might need planning permission
Most Velux installs in the UK fall under Permitted Development, which means no planning permission is required. Three conditions have to be met. The window must not project more than 150 mm above the plane of the roof. It must not be higher than the highest part of the ridge. Any side-facing window must be obscure-glazed and non-opening below 1.7 metres above the room floor.
Three situations override Permitted Development. Listed buildings require Listed Building Consent for any external alteration, and a Velux qualifies. Conservation Areas often restrict permitted development on the principal roof slope facing the road, so a front-facing Velux may need permission even if a rear one does not. Article 4 Directions, applied by some councils to specific streets or areas, can remove permitted development rights entirely.
If you are unsure, a five-minute call to your local council's planning department will tell you where your property sits. Or, more simply, ring us and we will tell you from experience which streets in Milton Keynes, Newport Pagnell and the surrounding villages fall inside conservation designations.
If you are planning a loft conversion and want a Velux specialist to walk the space with you before you commit to a model, that is exactly the sort of survey we do for free. See our Velux and roof windows page for the full service detail, or read our introduction in Meet Clarkson Roofing.
Planning a loft conversion? Get the Velux spec right before you order.
Common questions.
The questions we hear most often when homeowners ring us about a Velux install.